 As I mentioned, laser diodes are fragile devices. So the power supply must be adjusted before connecting any laser diode.
After all components are placed on PCB and visual inspection is finished, connect one 1.2K resistor in R4, R5 and R6 place. Power up the circuit. Check if linear regulator is working and we have stable 5V in the 7805 output. Measure voltage in the empty laser diode place. It must be less than 5V. Connect ampermeter instead of laser diode. Ampermeter must handle 1A current. In one position of the trimmer, the current in zero, in other some value. Set max current value by adding additional resistors in R4, R5 and R6 place. It is not very important to use exact resistor values in this circuit. Something in similar range is usable. I place 13K in R7 and everything is fine. Graduate trimmer to output current values.
Connect in series to ampermeter any powerful diode (I used optically burned laser) and check the current. It must be same as before and trimmer scale must be same.
This device must be powered to power source capable to output ~1A current at ~7V. If input voltage is higher (I use 12V Pb battery) the 7805 gets hot at max power. Use any heat sink to keep devices in working temperature.
Usage:
Connect (solder) laser diodes only to switched off and disconnected device. I repeat- DISCONNECTED. I damaged few laser diodes due to ground loop effect. The voltage between switched off laser power supply and ground soldering iron was high enough to damage laser diode.
Set current to min, switch power supply. Increase current. At first, laser diode is only glow. It is simple LED emitting effects. Optically burn out laser diodes can emit LED light. Increase the current and in some moment, laser diode start to shine very bright- it means that laser generation started. Now you can increase the current up to mentioned in datasheet. Or just try to find max current by your self. High current kills diode, so be careful. Especially when testing burning and ignition experiments*.
IR laser from CDRW device is powerful too. It can withstand 200…300mA current, but “working” current is about 100mA. IR laser beam is invisible and if you use digital camera to watch IR light, be careful. You can burn out not only your eyes, but digital sensor too. 🙂
Do not forget to use heat sink on lasers. In max power mode even quite big heat sink become hot.
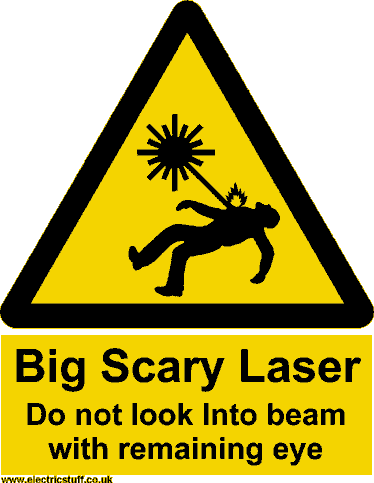
Also, don’t forget laser safety… (image from www.electricstuff.co.uk – BTW nice web page)

*more experiment will be translated in near future. Take a peek to Lithuanian blog.
