
To make double sided PCB at home you need: double sided photoresist coated PCB material, some NaOH solution (in mine case- simple drain cleaner), some PCB etching solution (HNO3 in my case), some PCB software, good printer, some transparency foil, glue, UV box.
First design your PCB. I am using freeware Eagle. Print sides separated on transparency. Now glue transparencies and some spacer to form envelope for PCB. Align all the holes. The thickness of the spacer must be equal to thickness of PCB or slightly less.
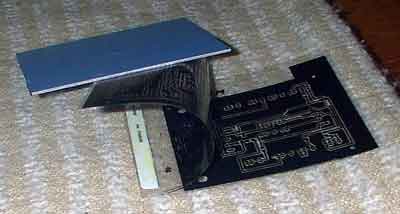
Remove protective plastic from PCB. Place PCB into the envelope. Dispose useless protective foil.

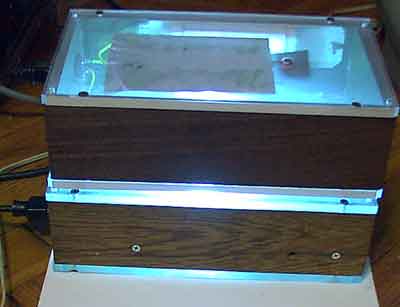
Place envelope between two UV emitting lamps. Do not move the lamps, pcb and envelope during exposure.
After exposure, develop in NaOH solution. Develop slowly, as strong developer can clean useful parts of the image.
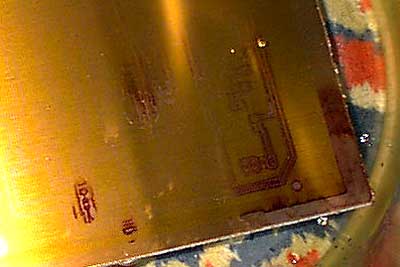
Place the PCB to etching solution.
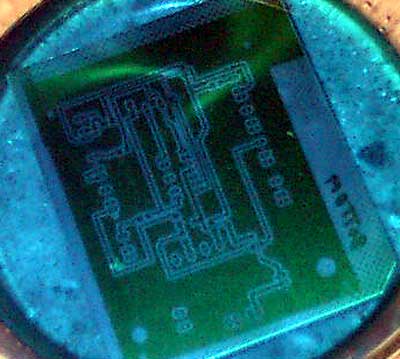
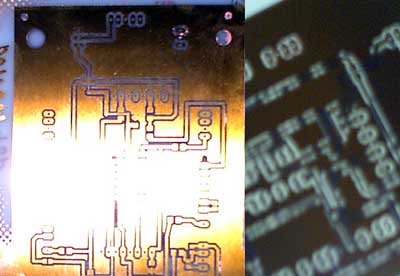
And check the result. All the holes perfectly aligned. Now it is time to drill few holes.
Thank you very much!!! It is very interesting article!!! )))